
This was the first project where I used exclusively Houdini for more than 3 weeks. The idea behind this project was to make Procedural Amsterdam Canal Style House that would have a lot of control and would be fairly realistic. Something that we were told constantly is before starting to do something do research on it. In fact we had a couple of weeks were it was mandatory to research your projects topic before you even open Houdini. And Research is what I did. After doing my research I decided to make the house and its structure in a procedural way using all the knowledge I had gained for my research.
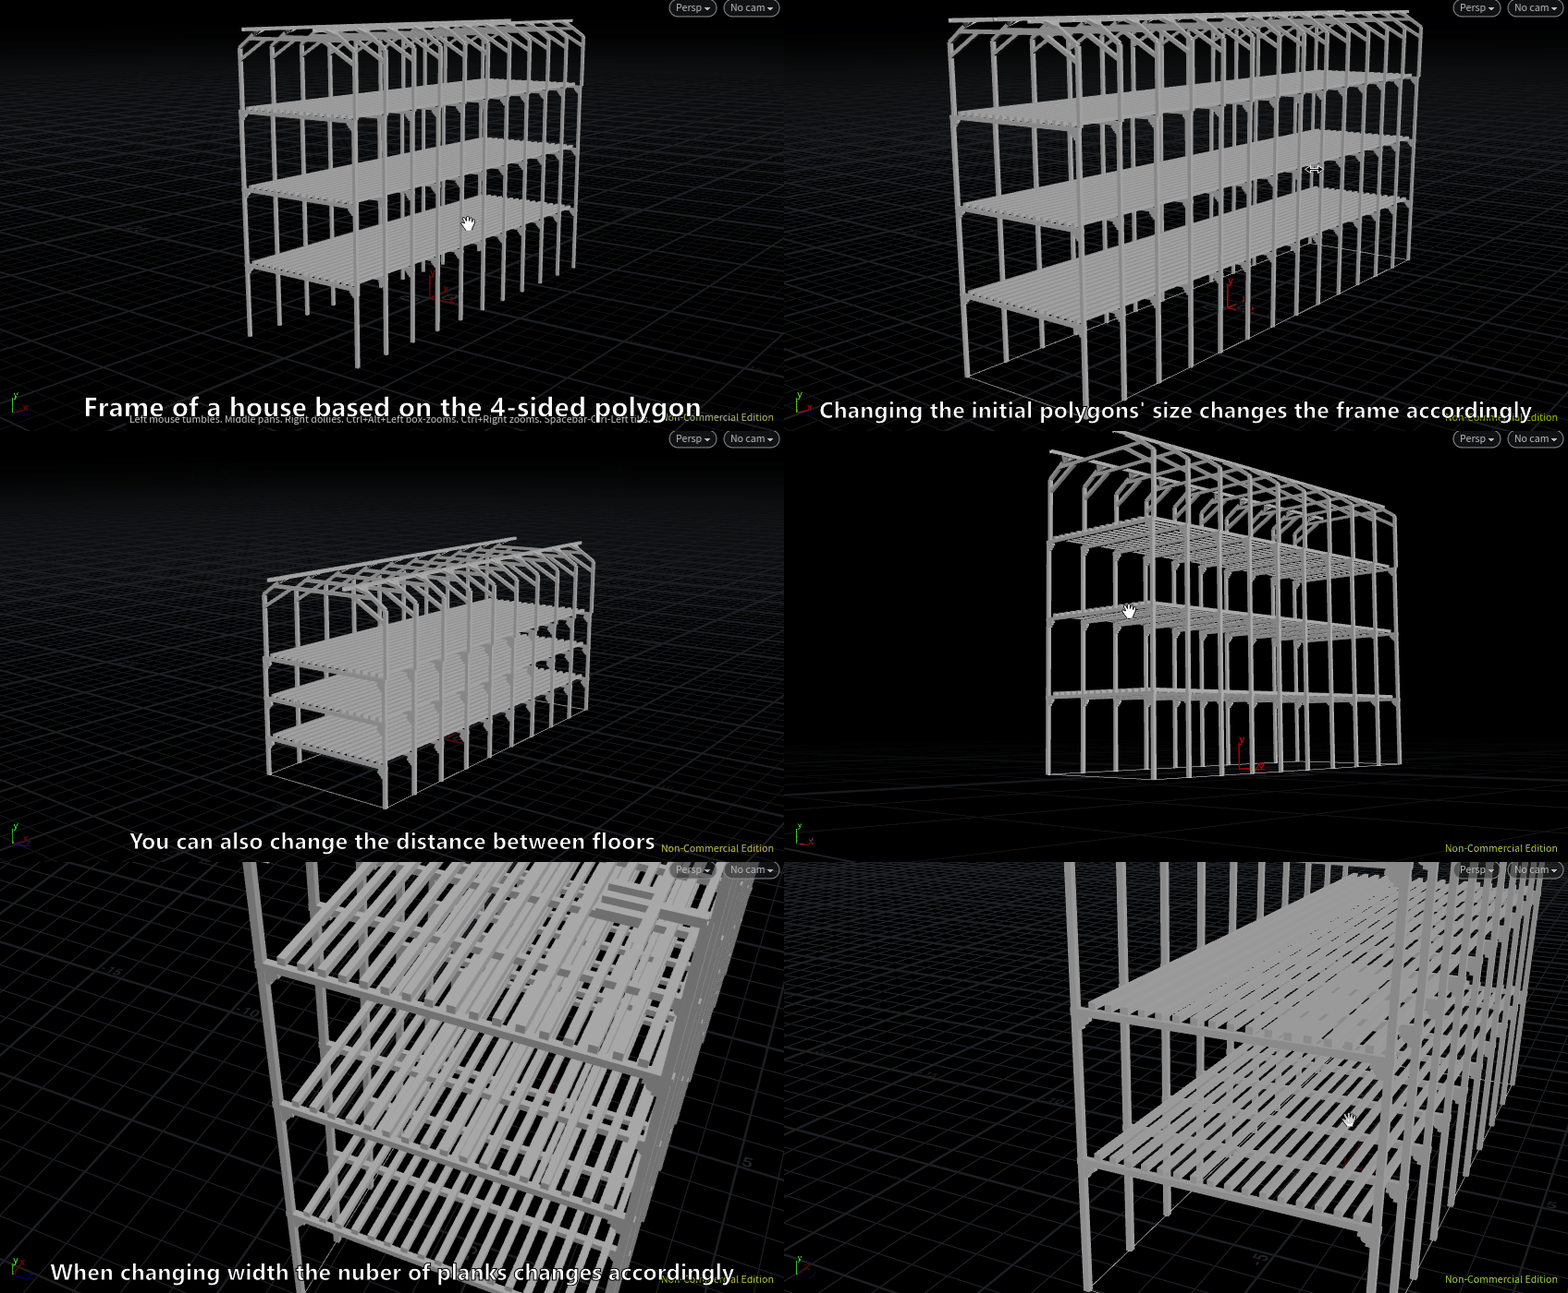
The first step was making the internal structure like it is made in real life. One of my main sources was this awesome website. (http://www.joostdevree.nl/shtmls/dak_constructies_met_termen.shtml). Another website I based my houses was this one (https://www.getty.edu/conservation/publications_resources/teaching/case/olita/building/construction_building.html). At one point I even went to the official dutch repository site for buildings to get as much info as I could.
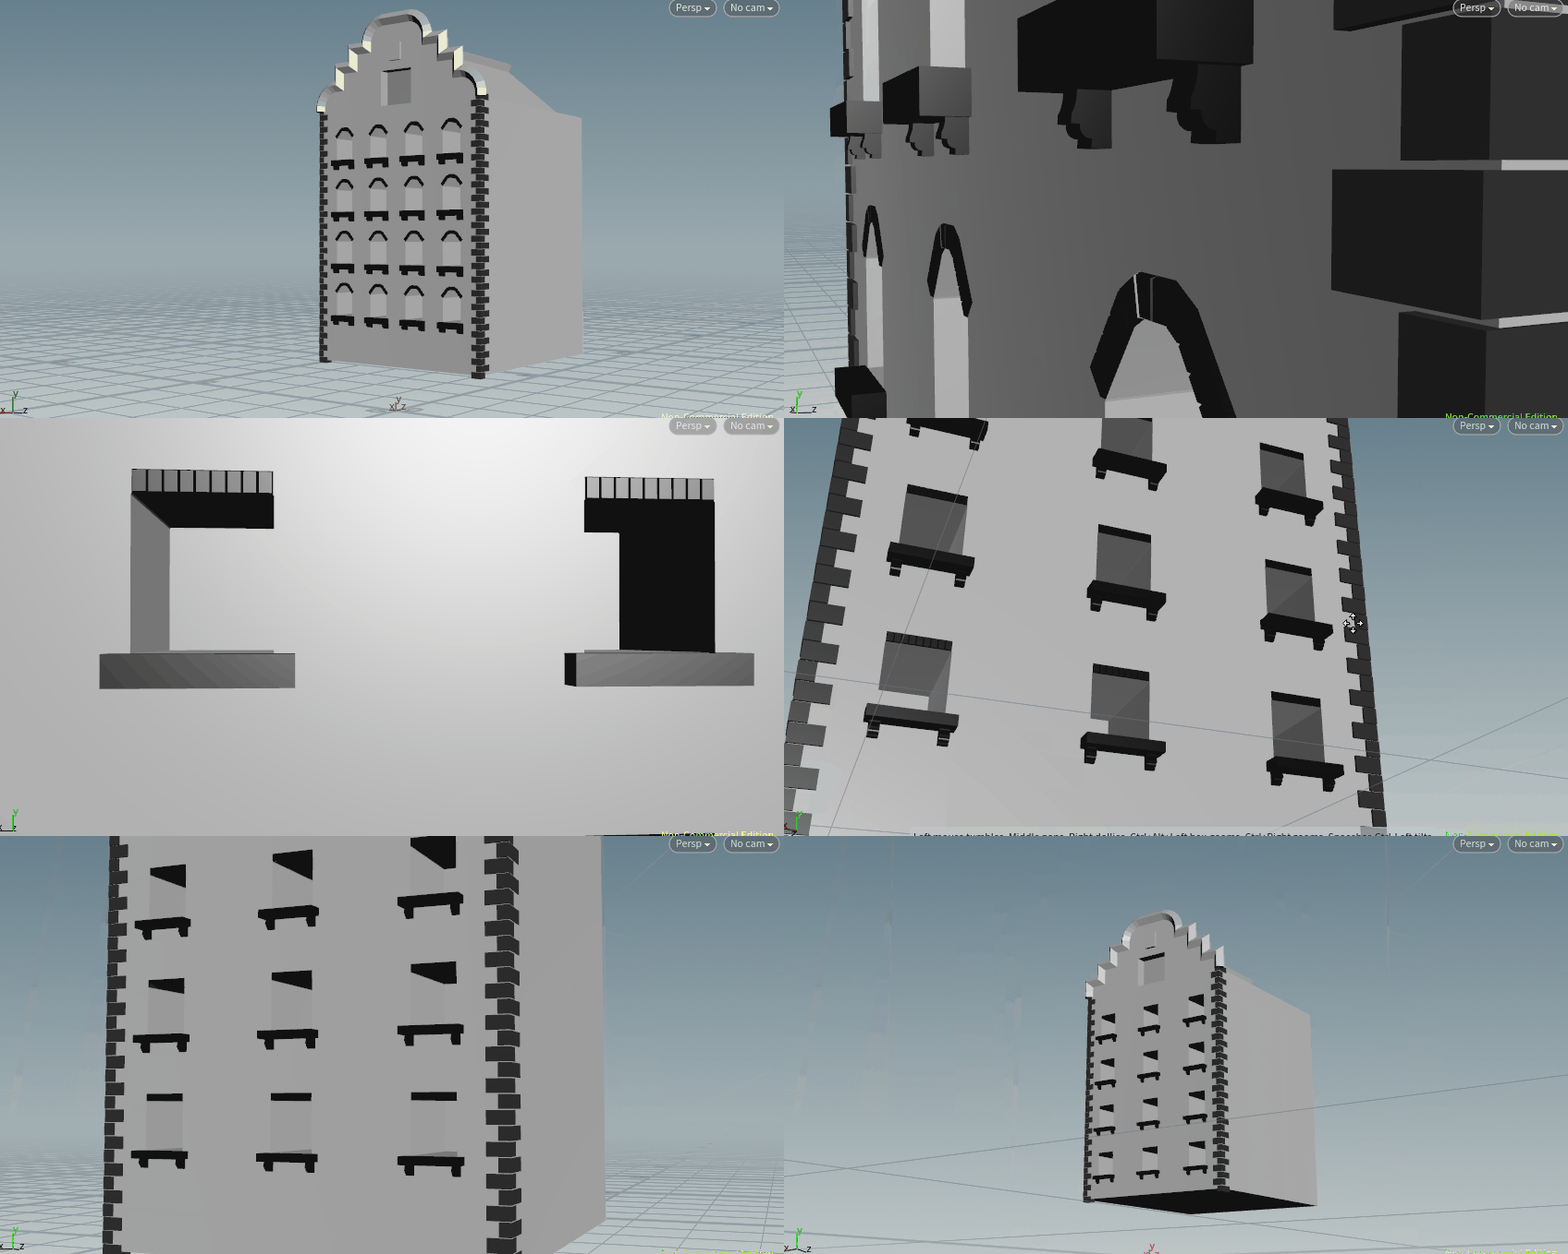
Before we continue there is something I must admit. I did a quick prototype with some basic things working before finishing my research. I just could keep my hand of of Houdini for that long. (In the GIF below is that quick demo). While prototyping this I actually made some pretty adaptable windows that have decorations and sills as well as a system that can make Quions(a new word I learned thanks to this project)
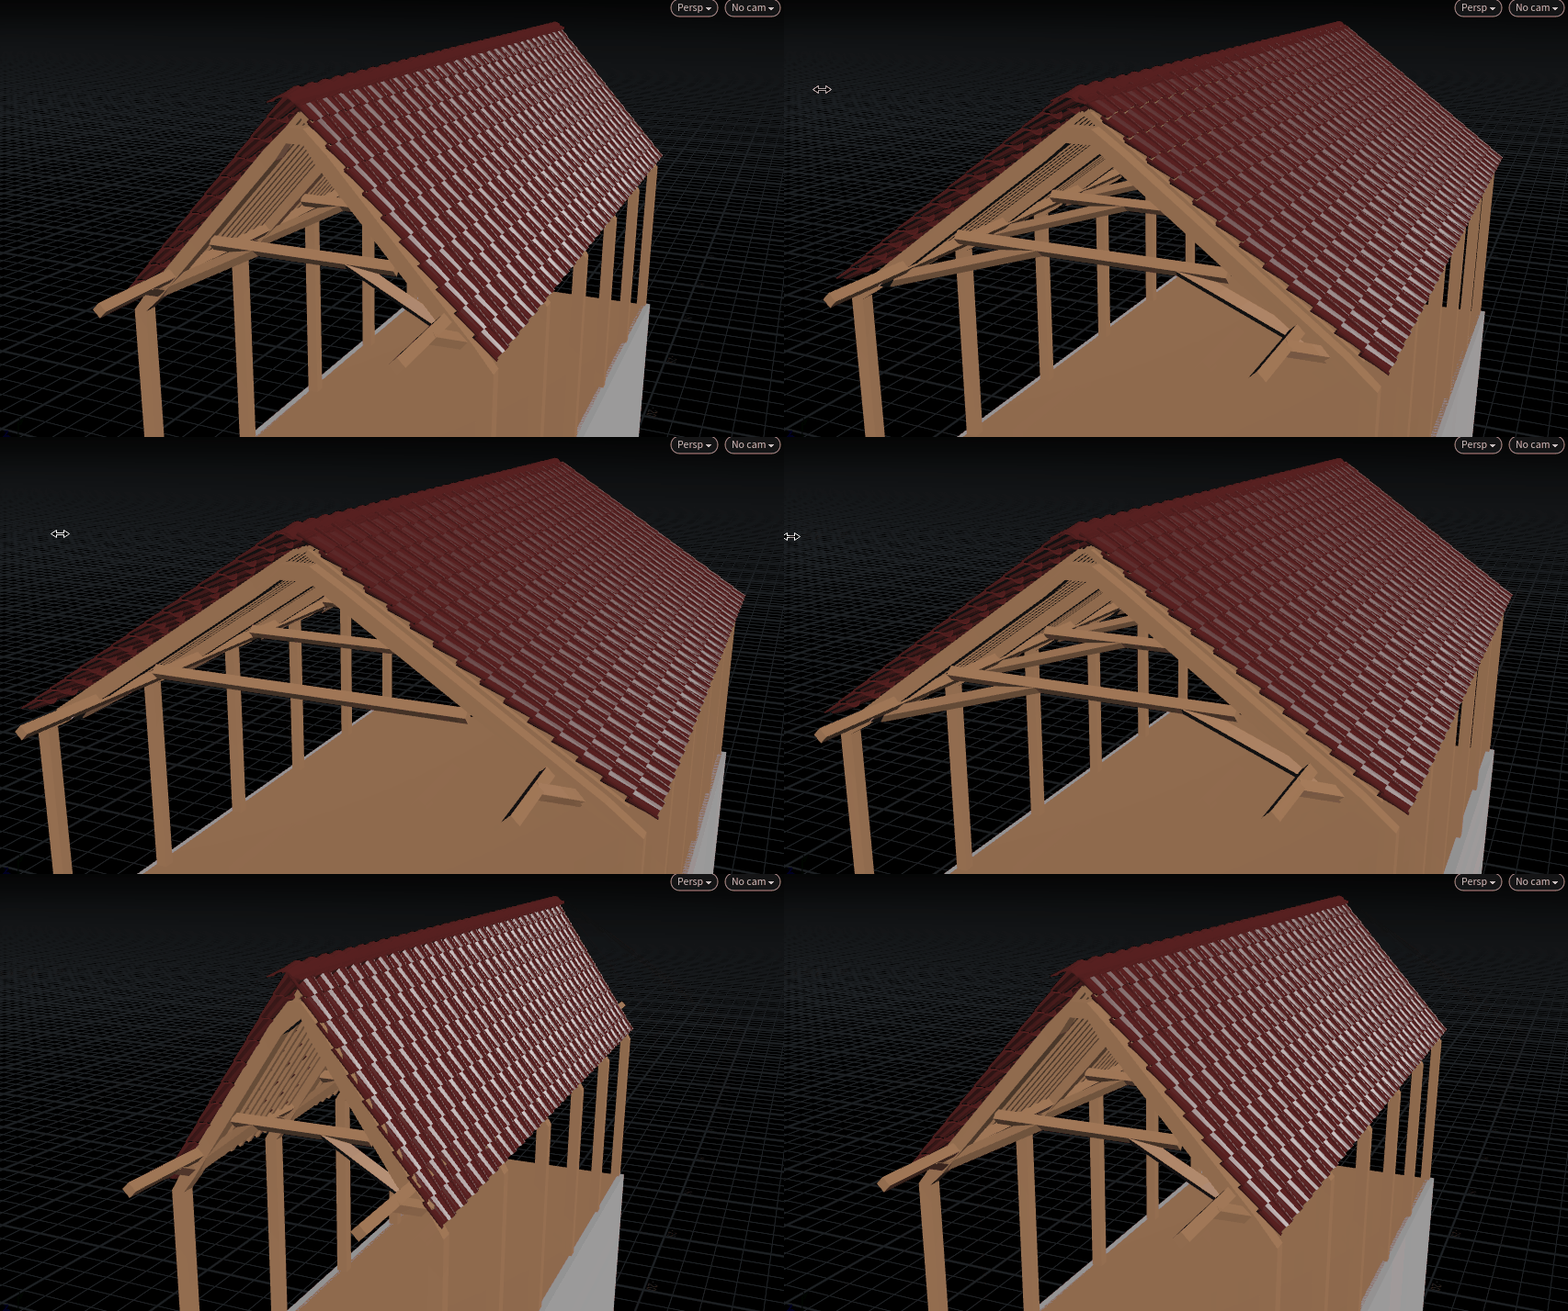
Now that I got that off my chest. Lets get back into things. After finishing the basic structure. I thought it was time I made the roof. So to make the roof I looked at the structure from the reference sites I had linked in the beginning and tried to copy that as well as I can. Also something of a tip from me. if you ever wonder what the size of something is, a very fast and easy way of finding out is to try and buy it. For example for the roof tiles I did exactly that I searched for roof tiles and went to the shop option in google where it gave exact measurements I could work from.(Of course this trick is limited to only things you could buy, but you would be surprised with the things you can buy from the internet)
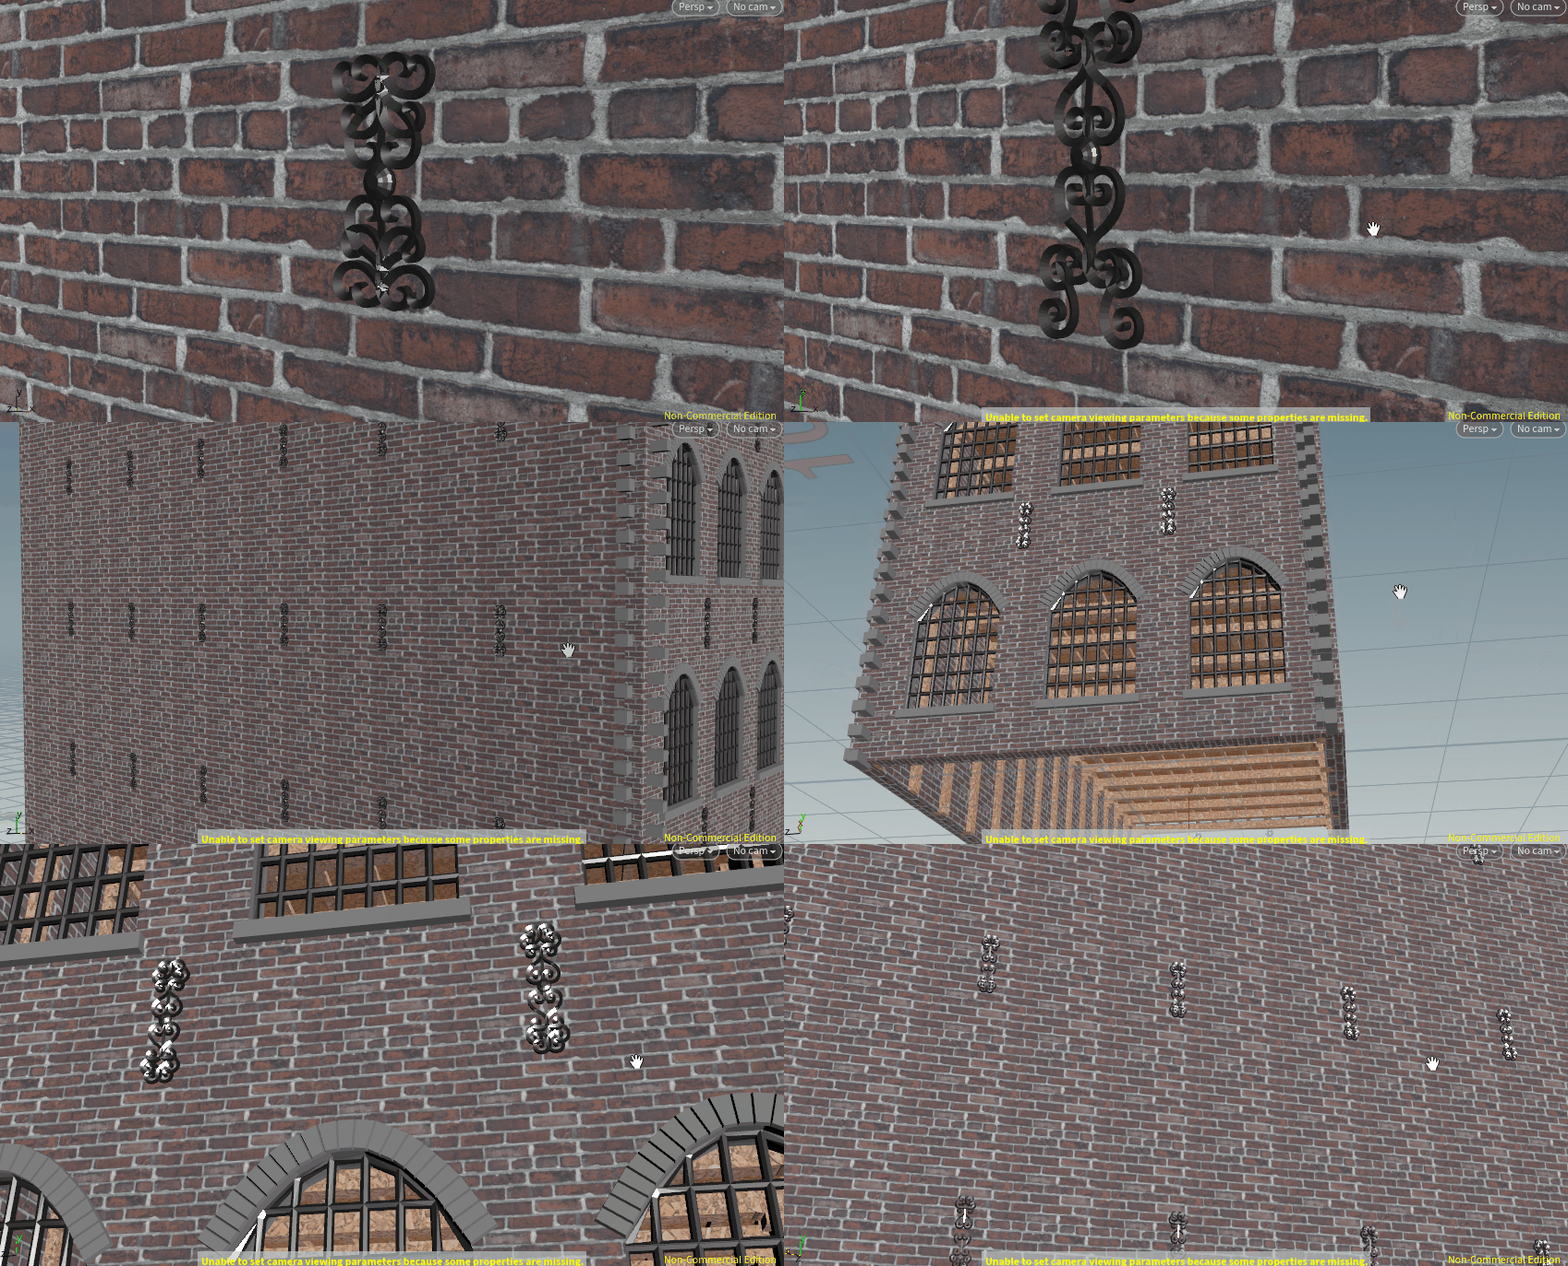
Now that the structure was done I think it is time for the walls and some of its details. After using googles street view (yet another great resource) I noticed that a lot of the houses have these decoration or at least an iron cylinder between the floors. And I started to wonder why is that there and after a bit of research now I know that those are the end of the iron poles that supporting the floors and are often decorated because they would look rather dull otherwise.(also their actual name is anchor plates if you were curious)
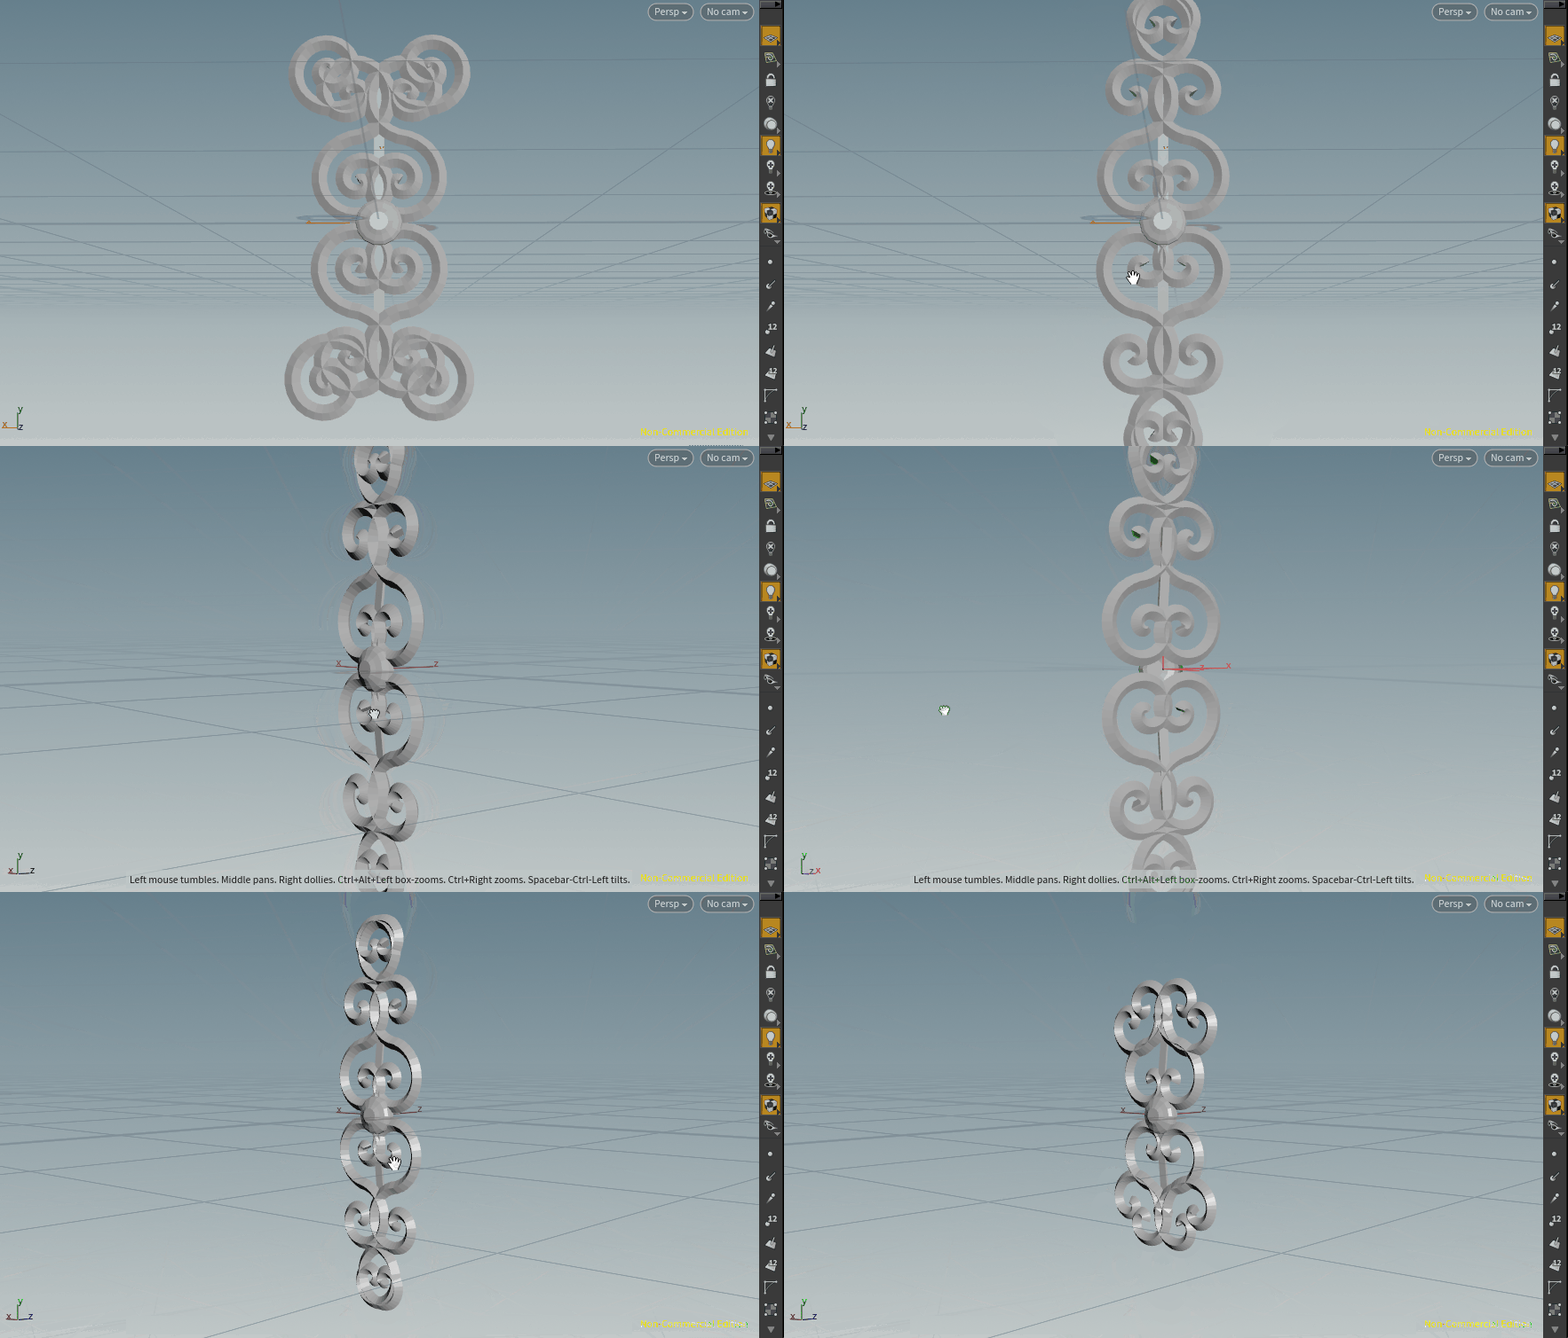
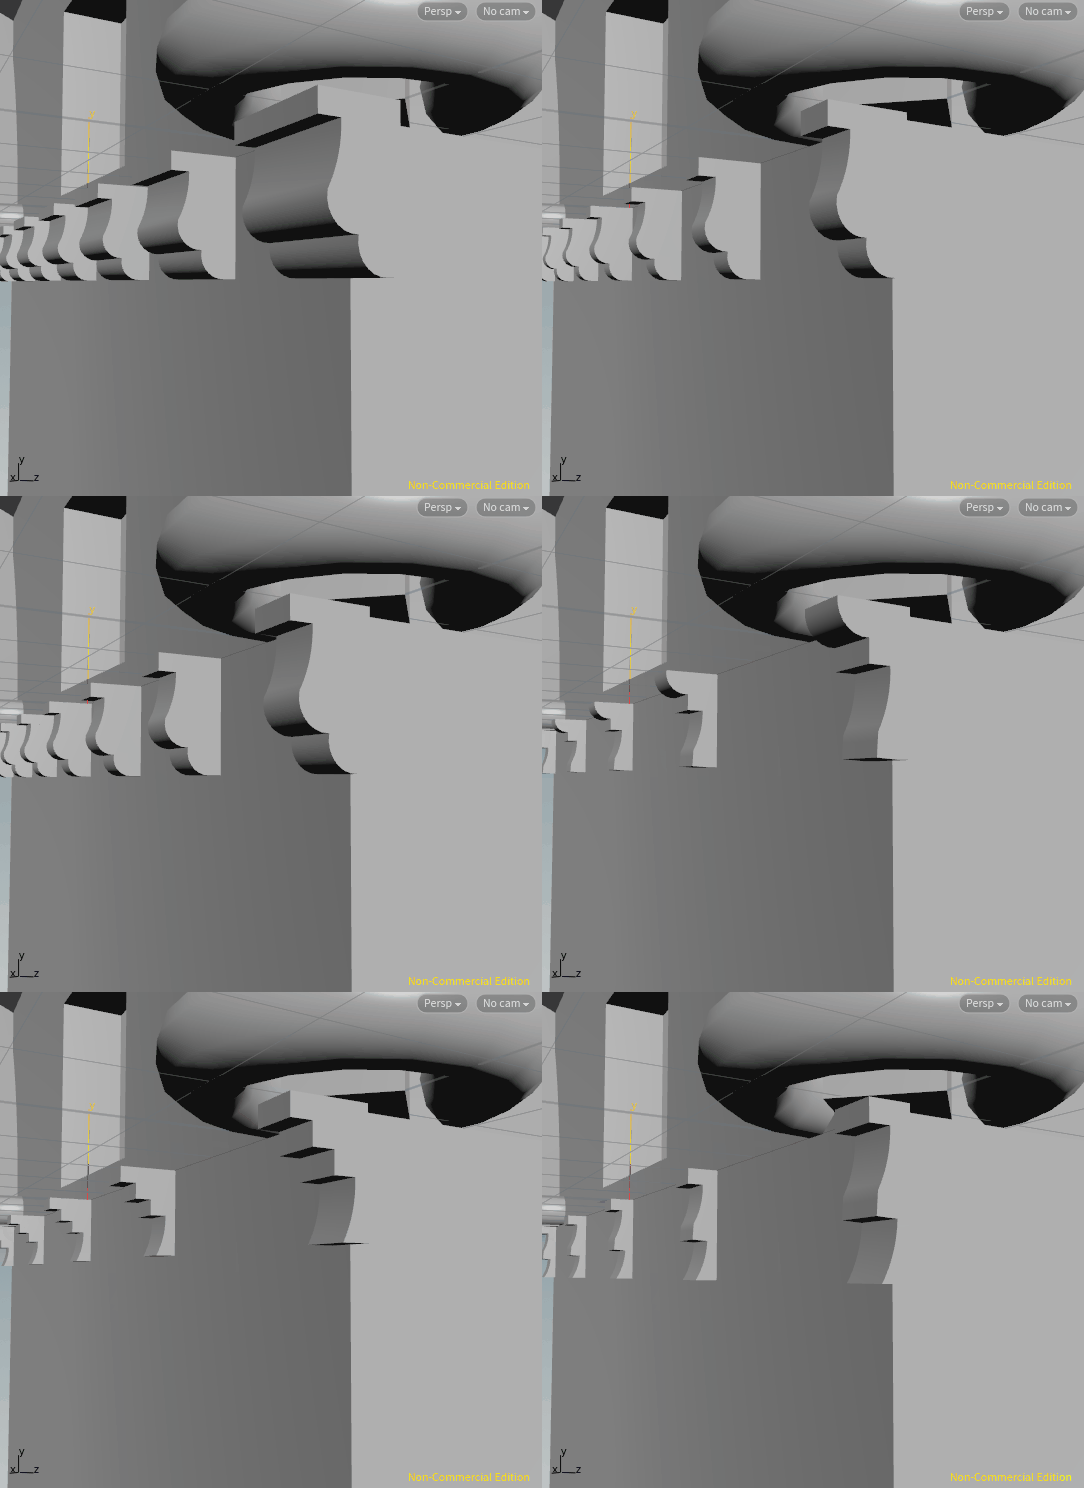
Another thing I used L-Systems for was the decorative cornice that the Canal Houses sometimes have depending on their roof type.(you can seem them in the GIF Below). I am not going to lie I used them in other places as well. Like the Sill decorations and on the inside for the so called Koorbels(in dutch). And actually believe it or not the roofs.
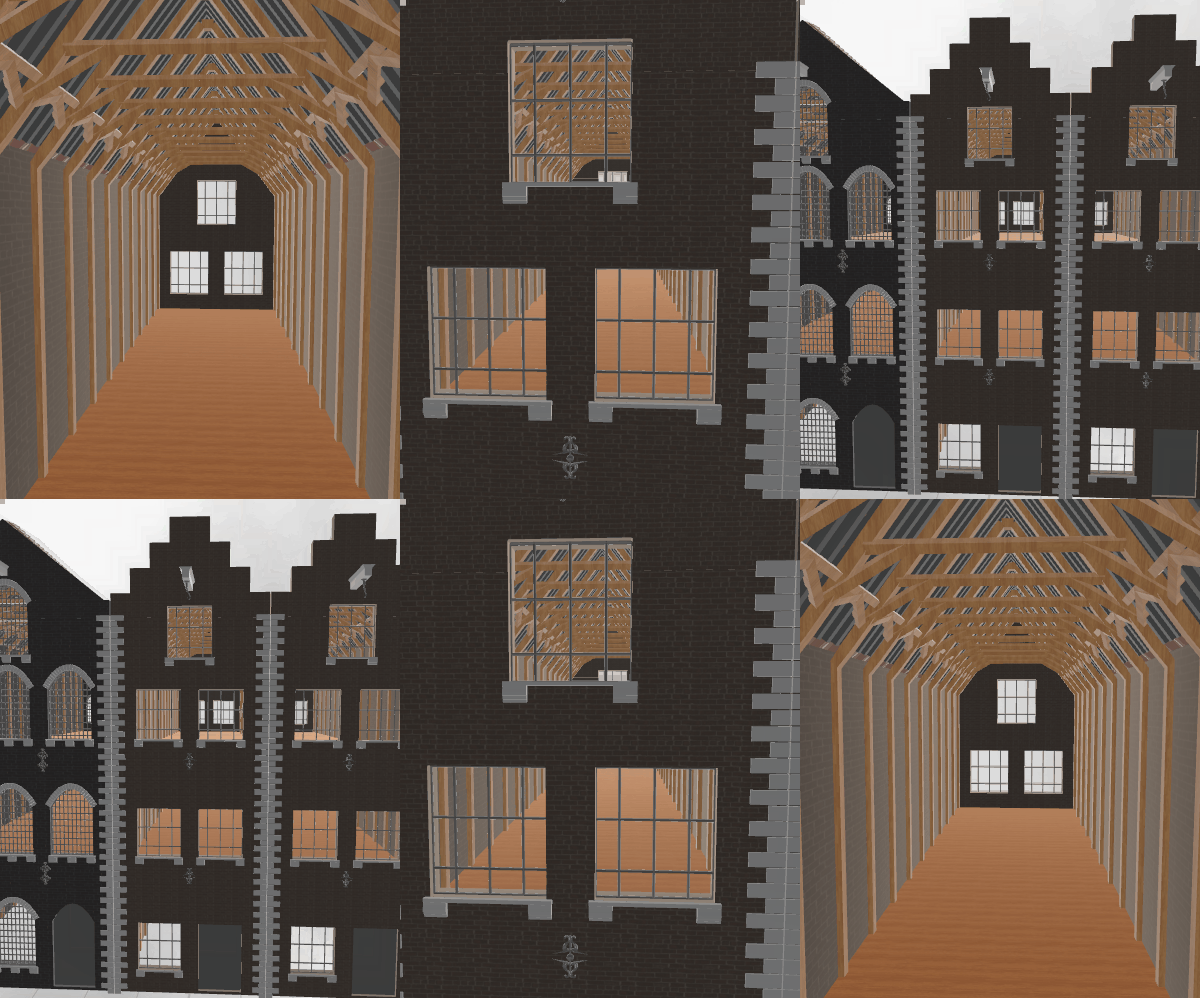
After all of that was done I added walls and used my the system from my prototyping to make the windows and door. An interesting thing to know about the walls is that usually they are between 2 and 2.5 bricks wide. After adding the walls I added a few textures and wrapped the system in a warm little subnet where I gave way too many unnecessary options but hey this way you have a lot of freedom. And to almost finish of here is a looping GIF that shows the inside/outside + a little variation.
And to actually finish here is a video with some nice royalty free music that show the tool in action and the probably way to many sliders and parameters you can change.